
Now, introducing our star, Stubby!
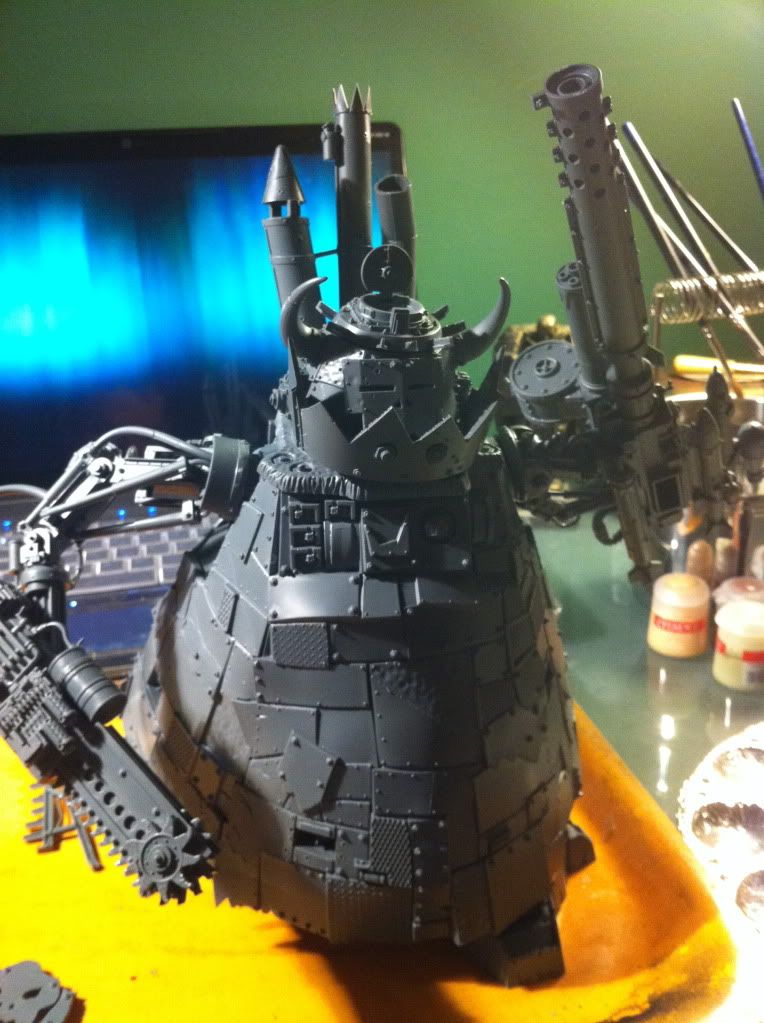
As much as I like the Stompa's Orkyness, I never really loved the model. It reminds me of a big Christmas tree, for some reason. I know realism isn't really something you look for in the Warhammer world, but I simply can't believe an Ork crew can get up in that head! So, I though it was a good idea to remedy that, using some.... well maybe a lot of bits from an Ork Battlewagon.
To be honest, this is not a conversion I thought of myself, I have seen it around the Internet. Also, I can't remember who was the one that inspired me, so I'm sorry for not mentioning him or her here. Basically, the idea is to take the front part of a battlewagon and replace it with the "normal" Stompa head. Something like this:
To be honest, this is not a conversion I thought of myself, I have seen it around the Internet. Also, I can't remember who was the one that inspired me, so I'm sorry for not mentioning him or her here. Basically, the idea is to take the front part of a battlewagon and replace it with the "normal" Stompa head. Something like this:
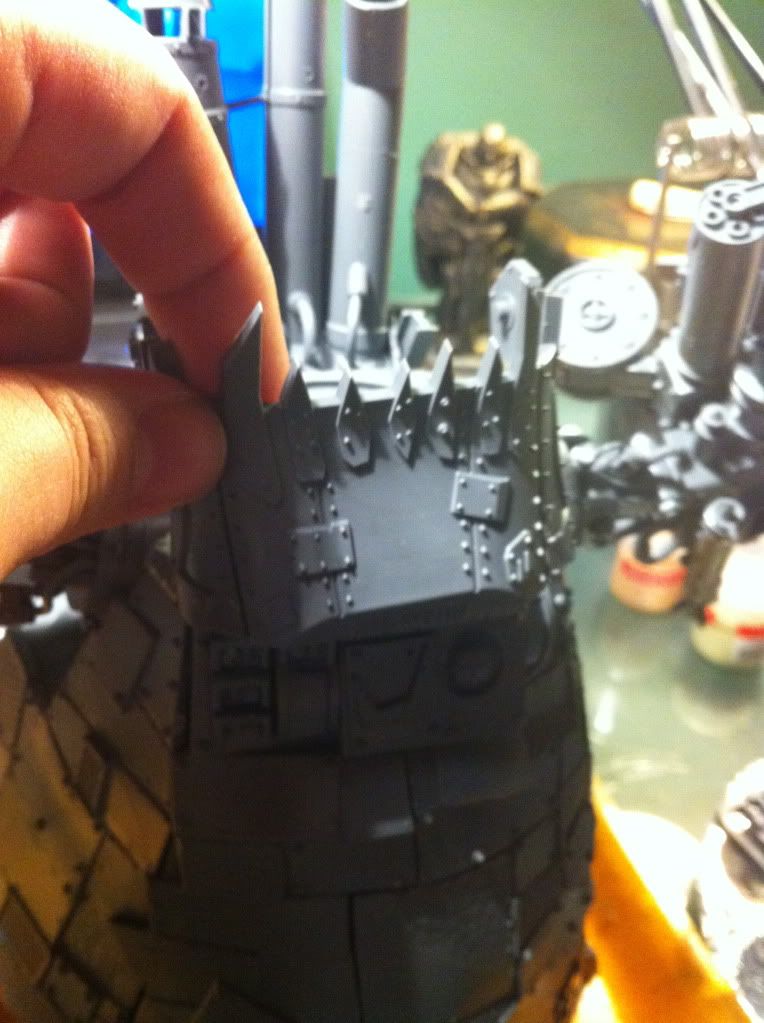
Beginners tip: NEVER throw away left over bits. They form an arsenal of conversion goodness over time. Even bits of sprue can be used if you are creative enough.
Now, it's not a hard conversion at all, since the front part of the battlewagon slices off pretty easy, and any gaps are quickly filled with orky bits. However, you do have to be careful not to place the head on last, because it is quite a bit larger than the original one. The shoulder bits and the turret next to the head have to be placed with care. In fact, I left the turret off completely, but added another one on the new head:
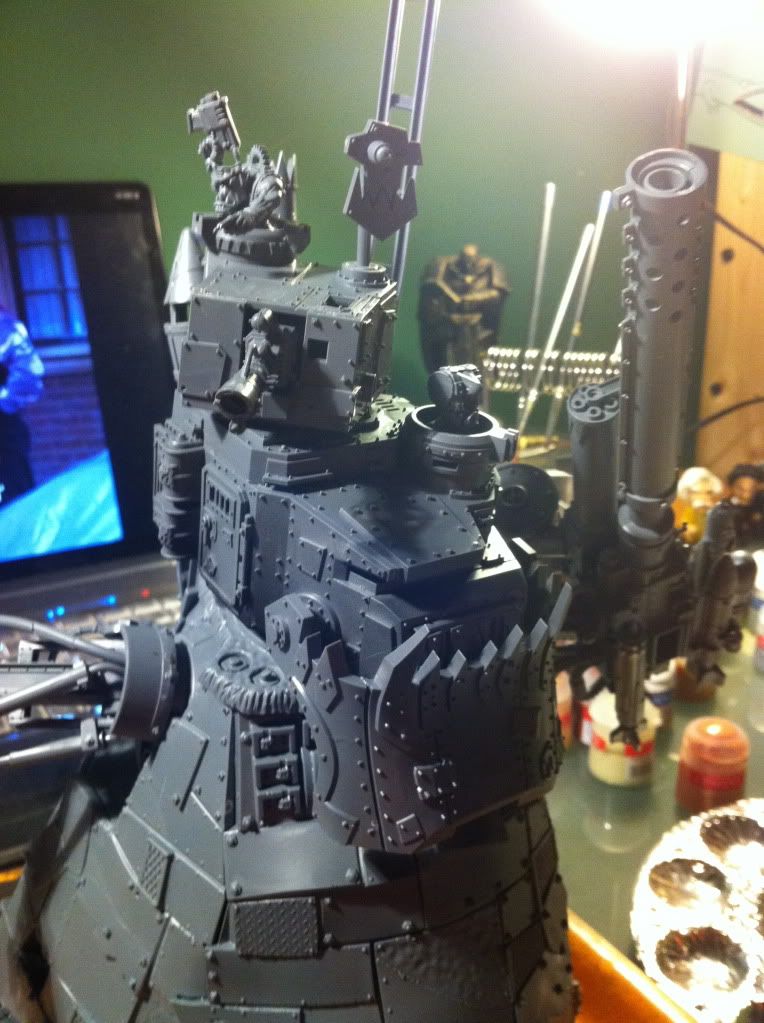
For those of you that are familiar with the Stompa kit, there are no shoulder pads yet, but I have made a mock-up of the finished piece (Using blue tack in stead of glue) with both the chest plate and the shoulder pads, and everything fits together nicely. Unfortunately I didn't take any pictures of that! I left off the turret because things were getting a bit crowded, and I attached the totem like construction at the back directly to the head, which gives a nice effect when posing.
Some basic data for those of you who are considering to build this kit:
Build duration: About 4 hours, including conversion
Build Difficulty: Medium. It's a pretty basic kit with clear instructions, and not as many pieces as one would expect. Just watch the gaps!
Conversion value: Infinite! Orks are the ultimate conversion army, and this kit is all Ork! I'm thinking belly cannons, walkways, you could even turn this into a big open top troop transporter!
Next up for this project is color scheme and weathering. Thanks for reading, please leave your opinion and let me know if there is any area you would like me to delve into!
Now, it's not a hard conversion at all, since the front part of the battlewagon slices off pretty easy, and any gaps are quickly filled with orky bits. However, you do have to be careful not to place the head on last, because it is quite a bit larger than the original one. The shoulder bits and the turret next to the head have to be placed with care. In fact, I left the turret off completely, but added another one on the new head:
For those of you that are familiar with the Stompa kit, there are no shoulder pads yet, but I have made a mock-up of the finished piece (Using blue tack in stead of glue) with both the chest plate and the shoulder pads, and everything fits together nicely. Unfortunately I didn't take any pictures of that! I left off the turret because things were getting a bit crowded, and I attached the totem like construction at the back directly to the head, which gives a nice effect when posing.
Some basic data for those of you who are considering to build this kit:
Build duration: About 4 hours, including conversion
Build Difficulty: Medium. It's a pretty basic kit with clear instructions, and not as many pieces as one would expect. Just watch the gaps!
Conversion value: Infinite! Orks are the ultimate conversion army, and this kit is all Ork! I'm thinking belly cannons, walkways, you could even turn this into a big open top troop transporter!
Next up for this project is color scheme and weathering. Thanks for reading, please leave your opinion and let me know if there is any area you would like me to delve into!
CONGRATULATIONS! AN AMAZING JOB DONE WITH LOTS OF CARE!
ReplyDeleteWHEN ARE YOU POSTING MORE?
ReplyDeleteVENGA!
CLARA